Before we can blow glass ornaments we must print the model on a 3D printer in order to move on to the casting process.
We start with the final retouching of the model and refining tiny details as everything will be visible on the glass bauble. The printed model is divided into sections, as each part has to be made separately.

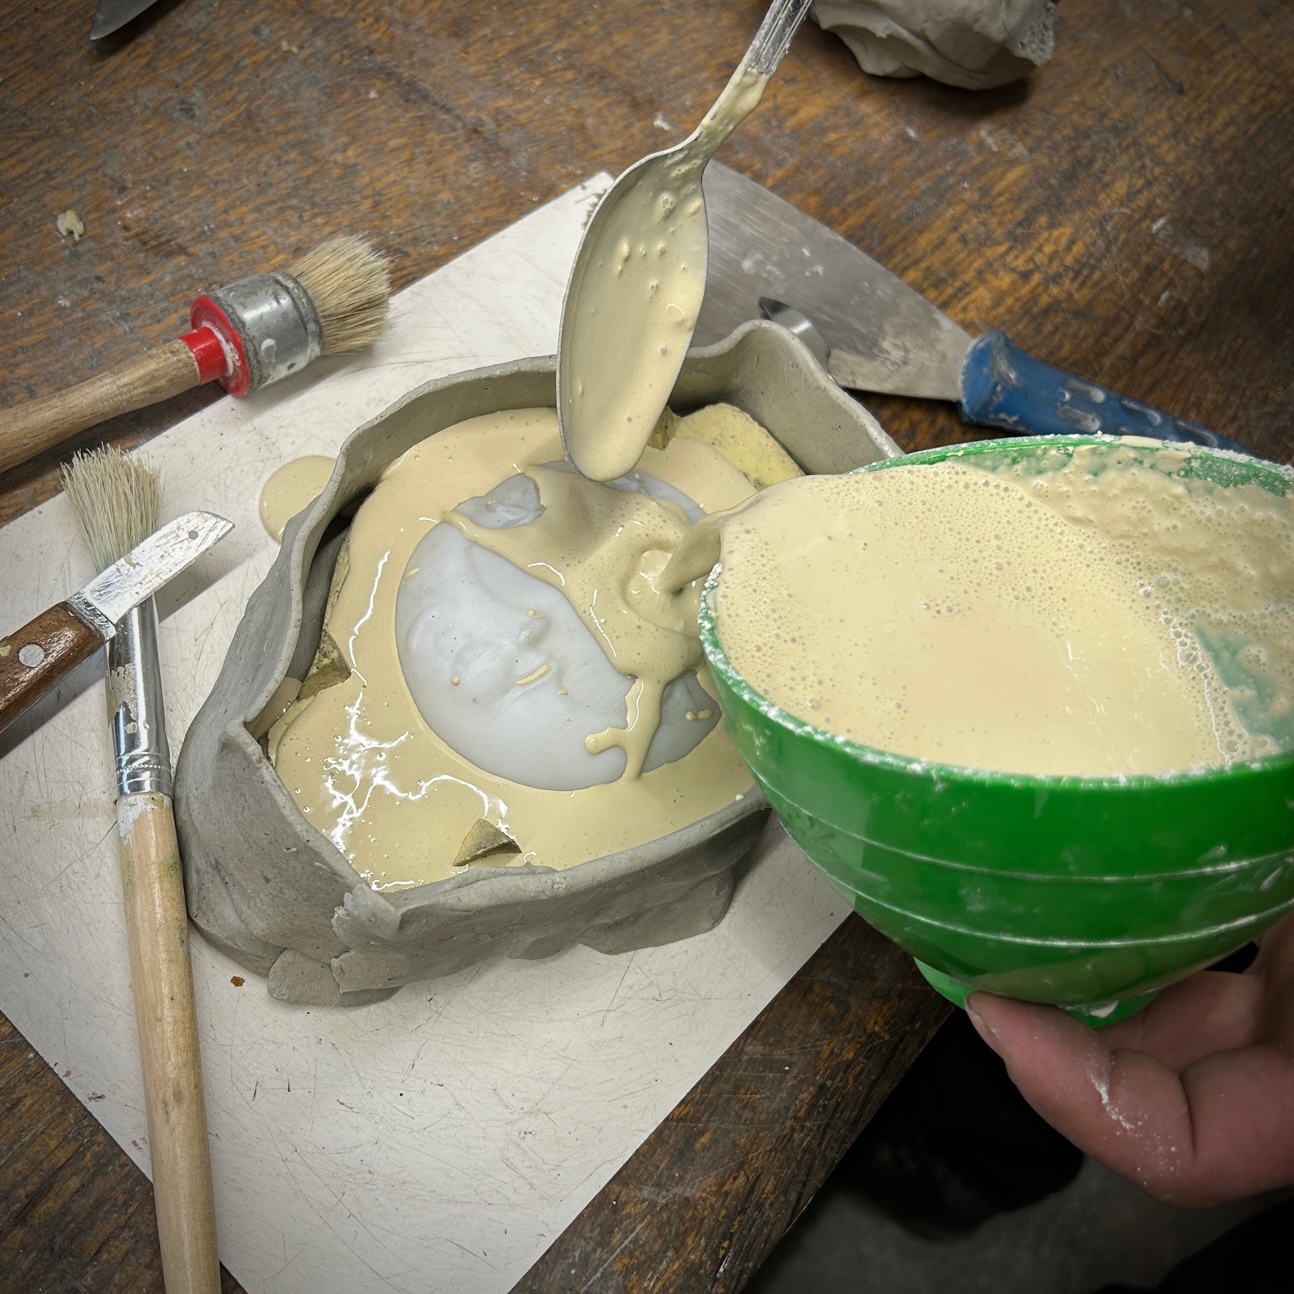
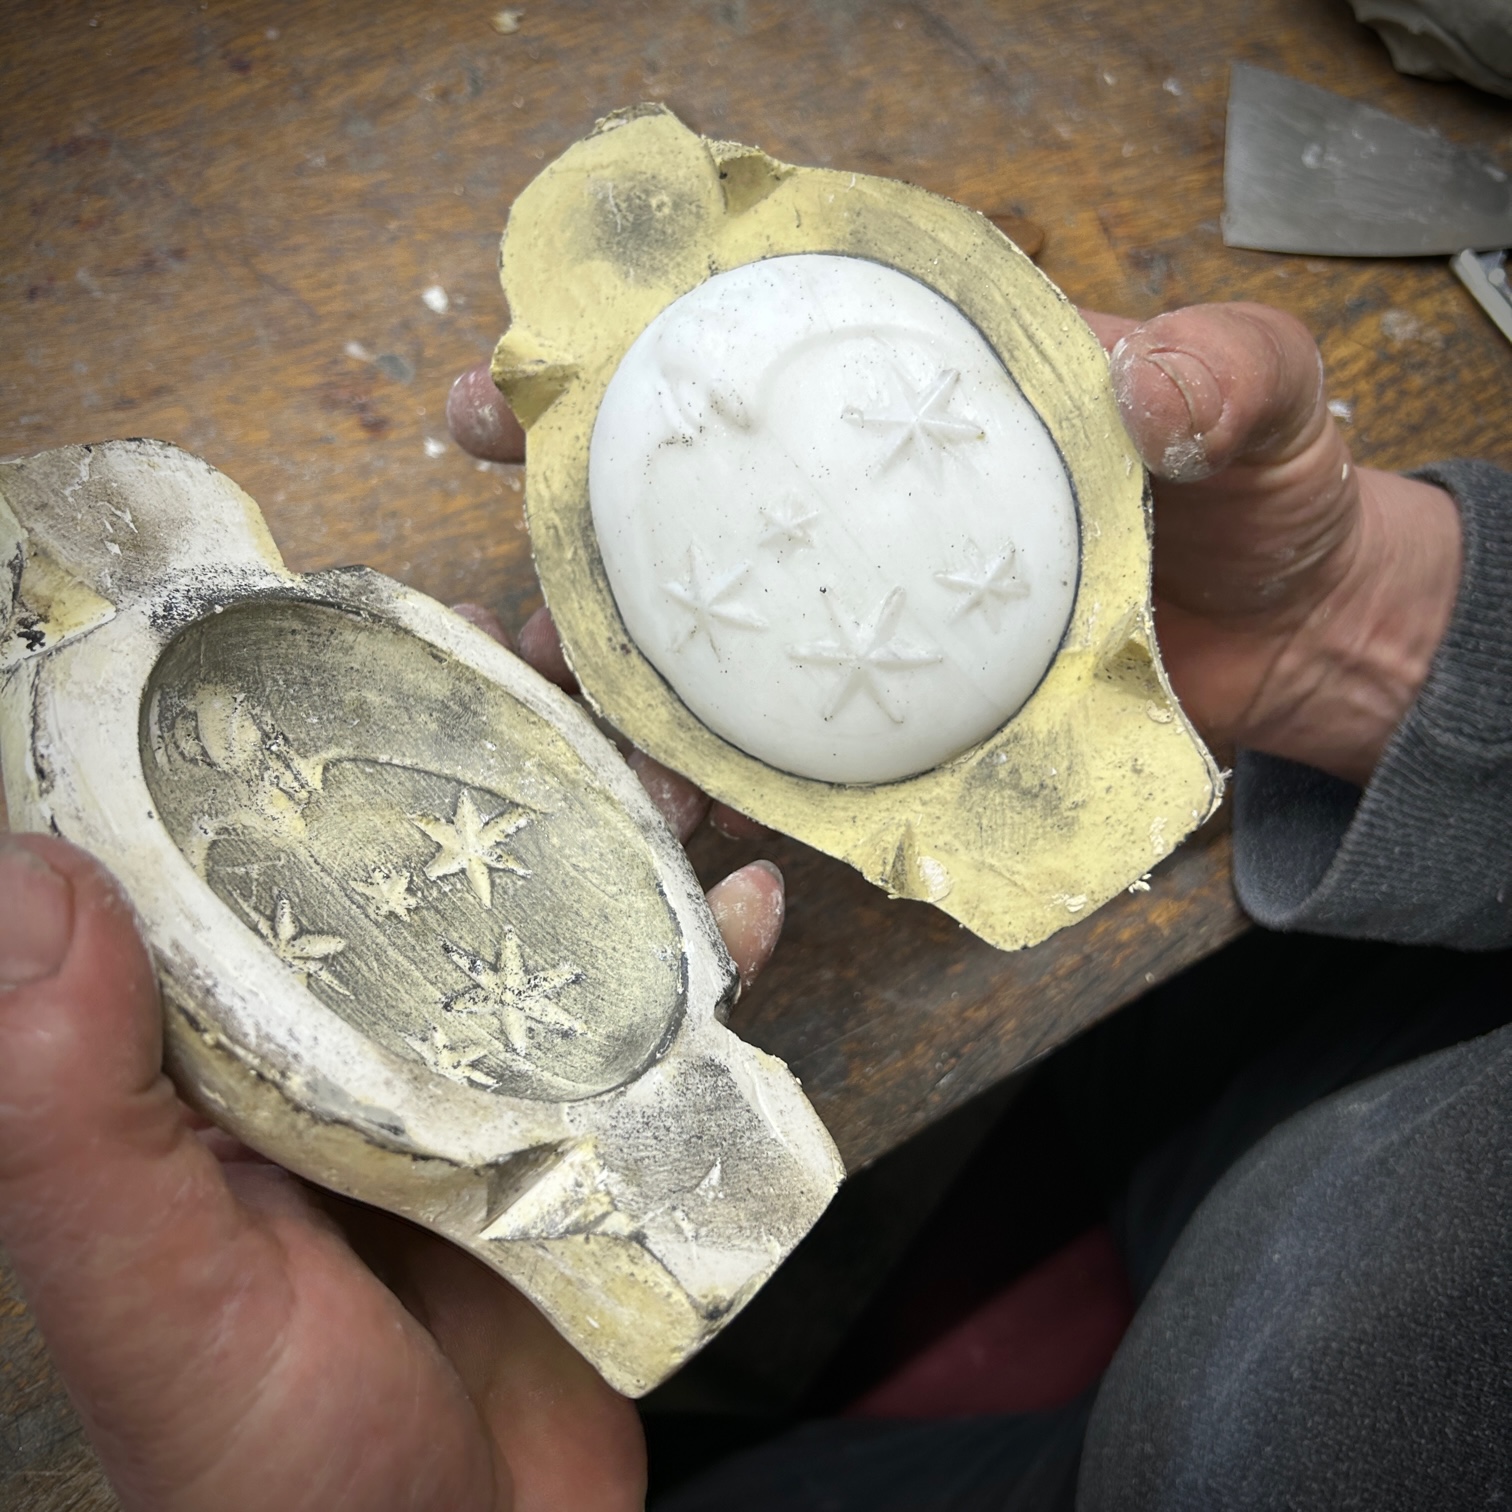
Once the hanging spot is set and the model is leveled on a special base made of plasticine we can start pouring clay. After an hour we can take out the model of our exclusive ornament and the first part of our mold is done!
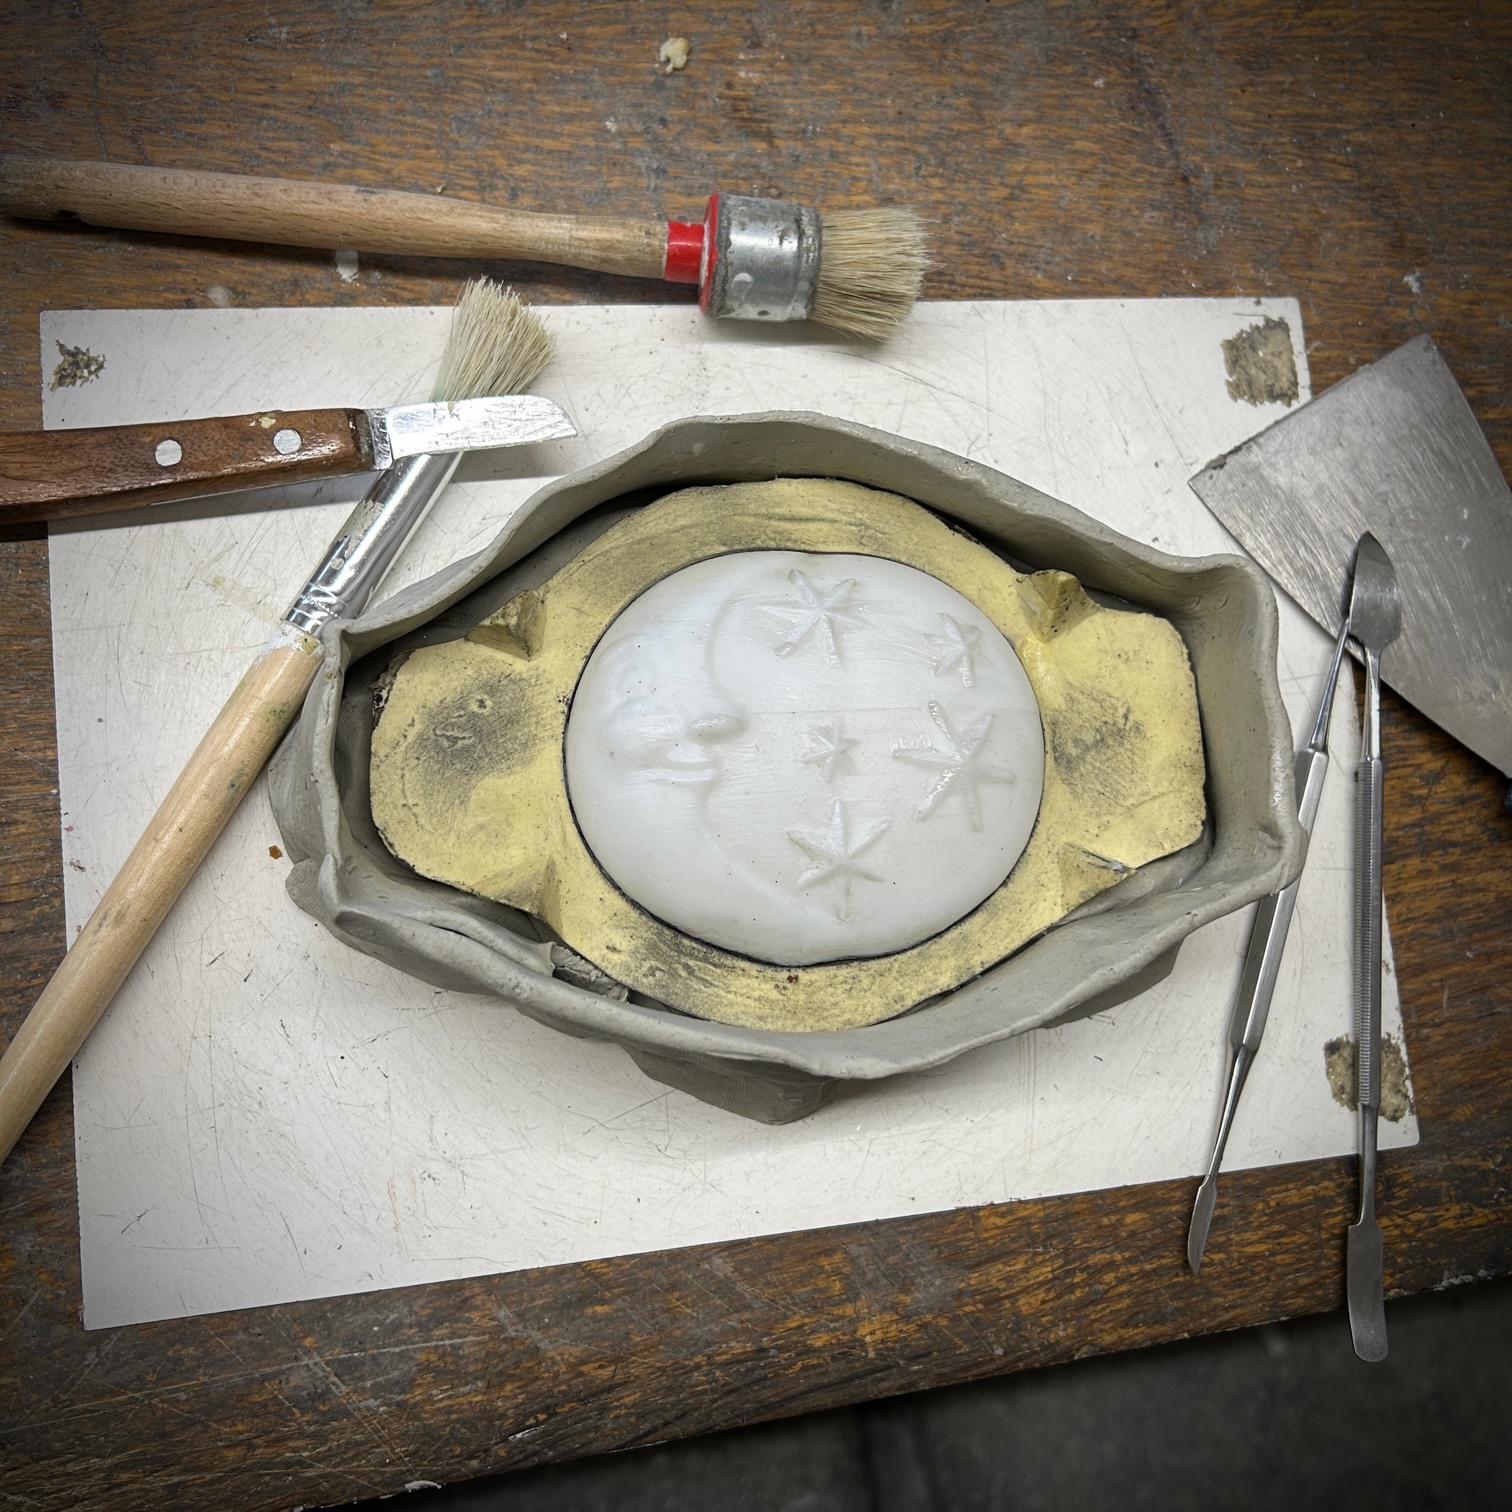
Before the clay dries out completely our mold makers have to cut all the clay surplus, shape the handles, and polish the inside of the mold so the shape that we later blow from it is nice and smooth.
After that, we can start pouring other parts of the mold until everything is done and fits together perfectly. We leave the clay mold to dry out completely for a few days and we are ready to start the real casting of our Christmas Glass Ornament!
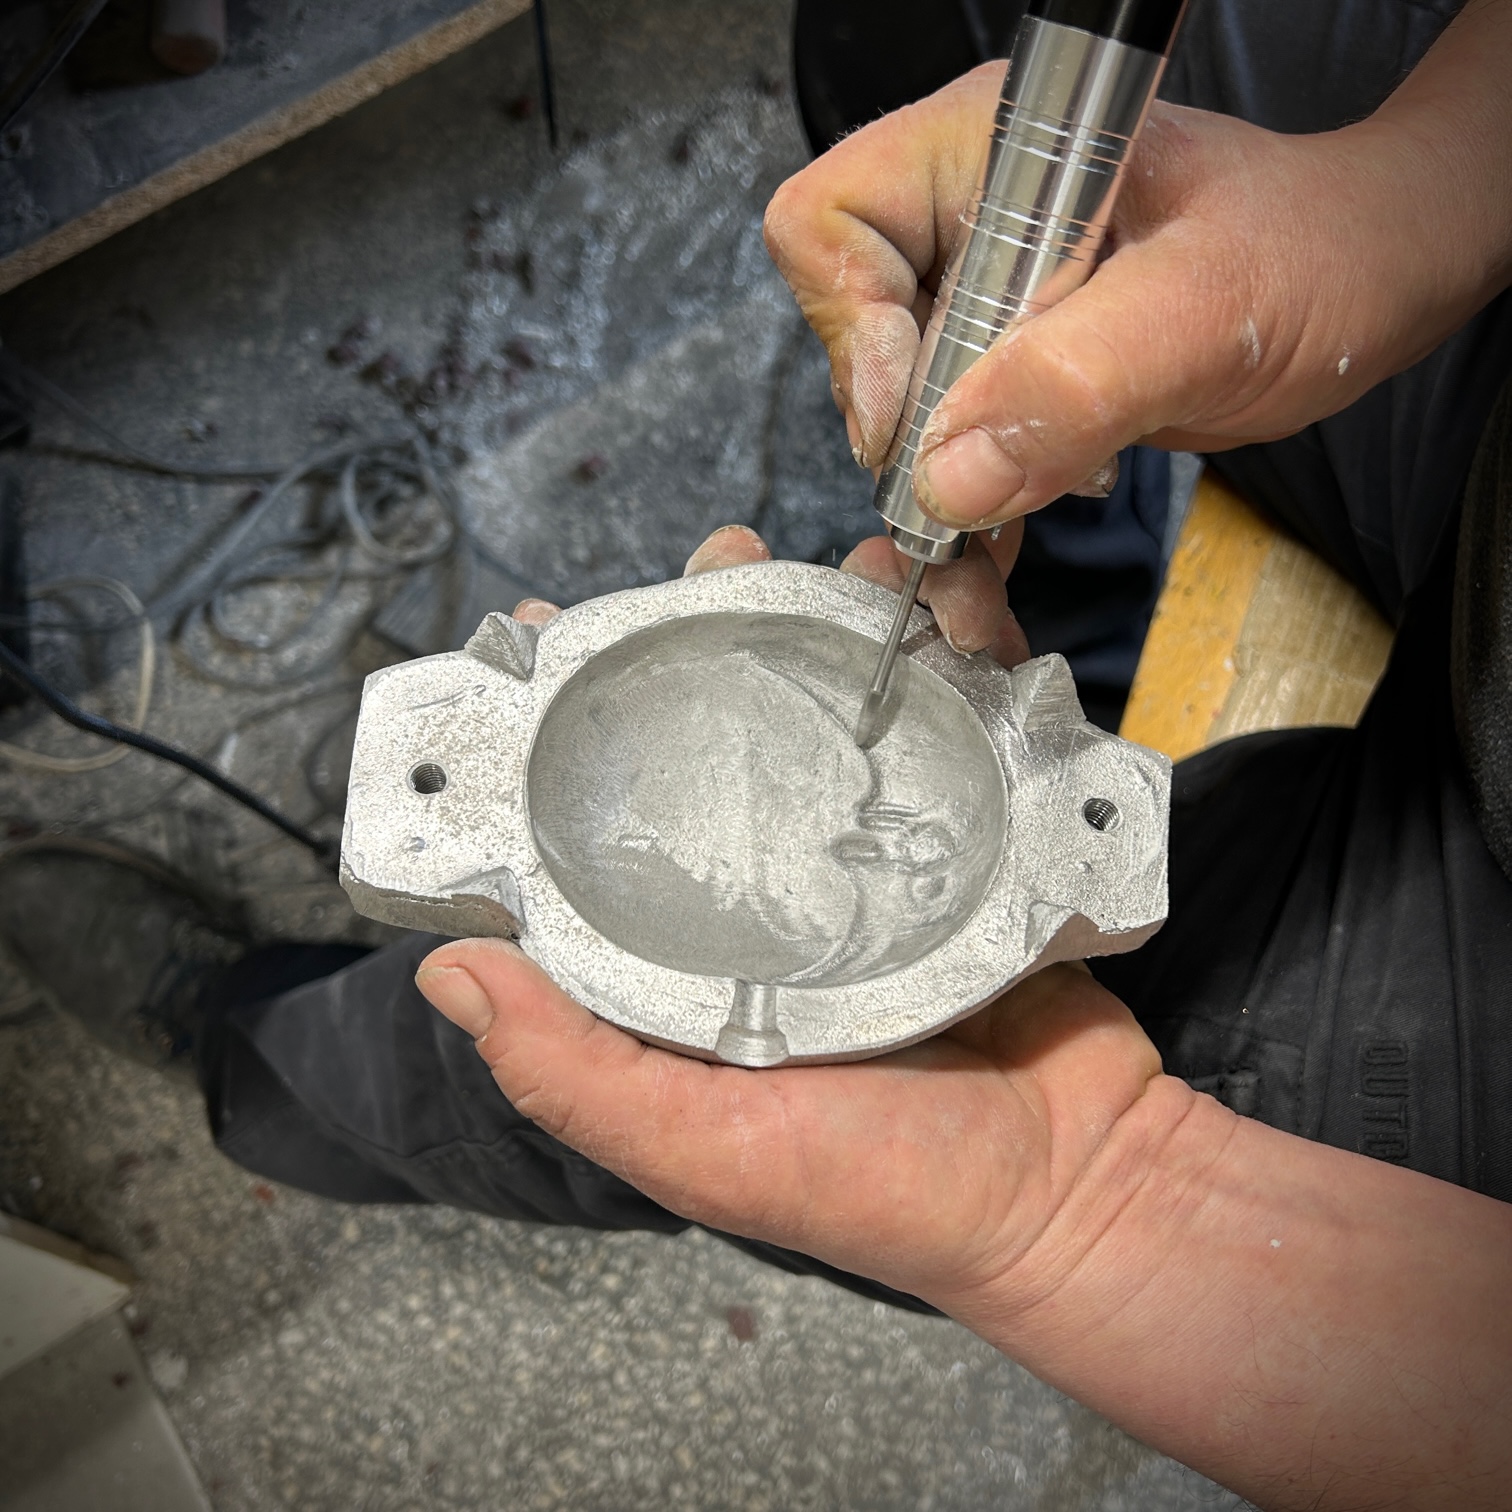
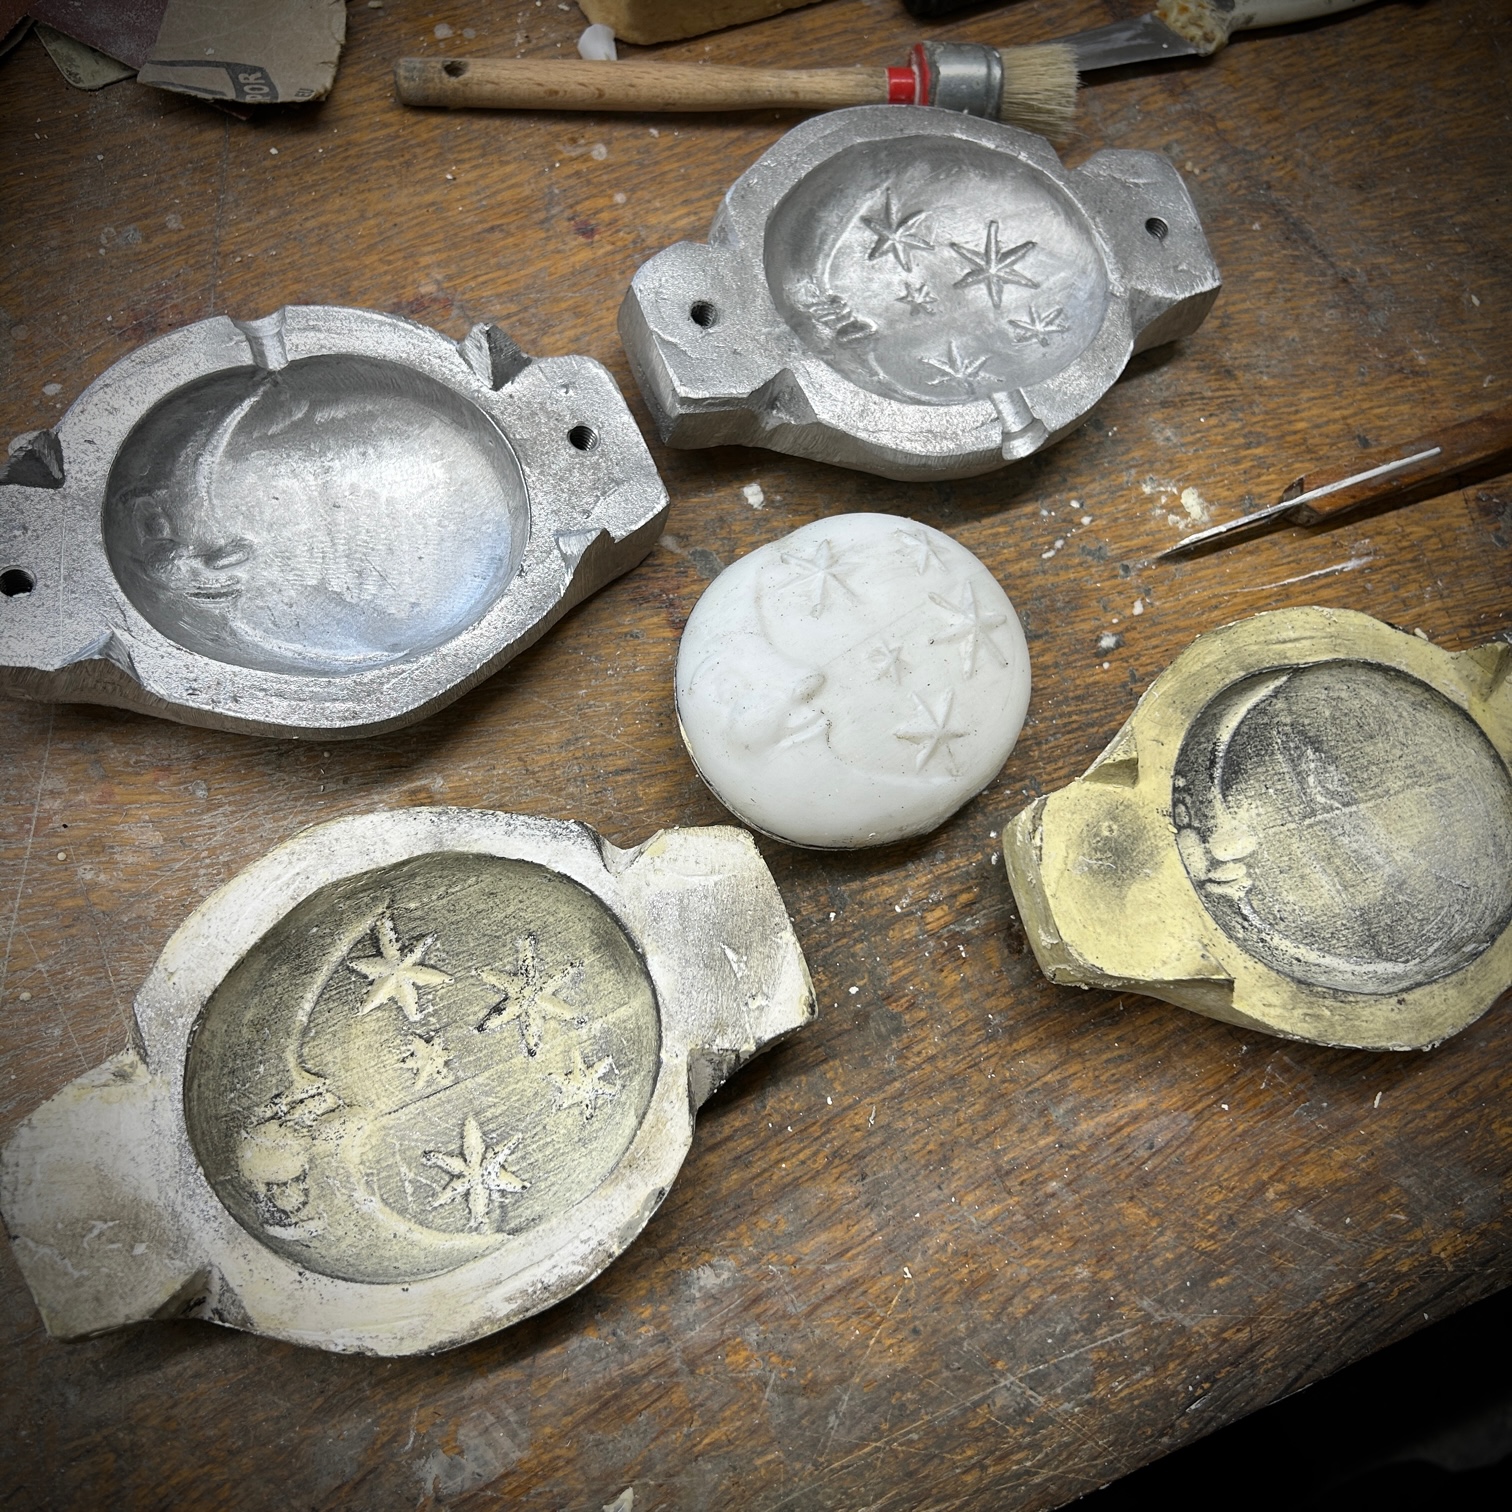
Now, we have to cast metal mold out of pure aluminum. Clay mold serves as an imprint in which we pure liquified aluminum. Once it cools we have to polish it, engrave it and mount it on a special handle so our blowers can do their job!


